How do I get my Calendly link setup?
1. Go to https://calendly.com/.
2. Click “SIGN UP” in the top right corner.
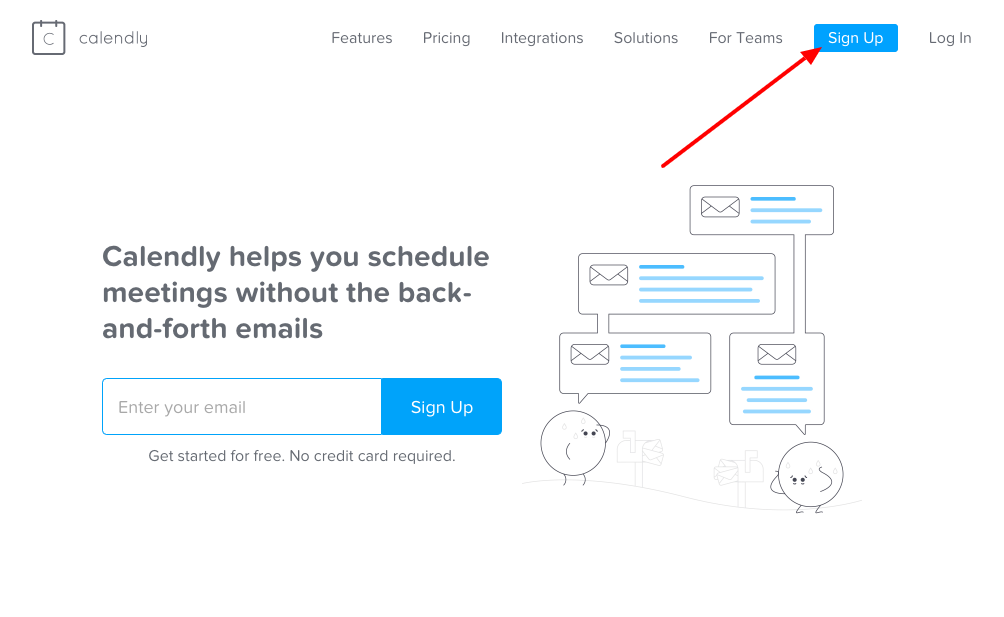
3. Enter your work email.
4. You will be prompted to enter your full name (which will display for supporters when they visit your page) and create a password.
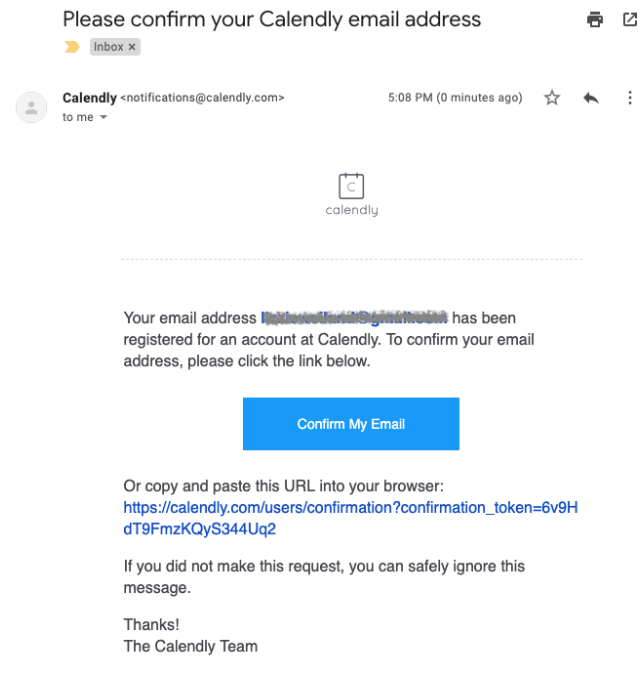
5. Go to your email and verify your email address by clicking on the link.

6. For security reasons, you will be prompted to enter your password once more.
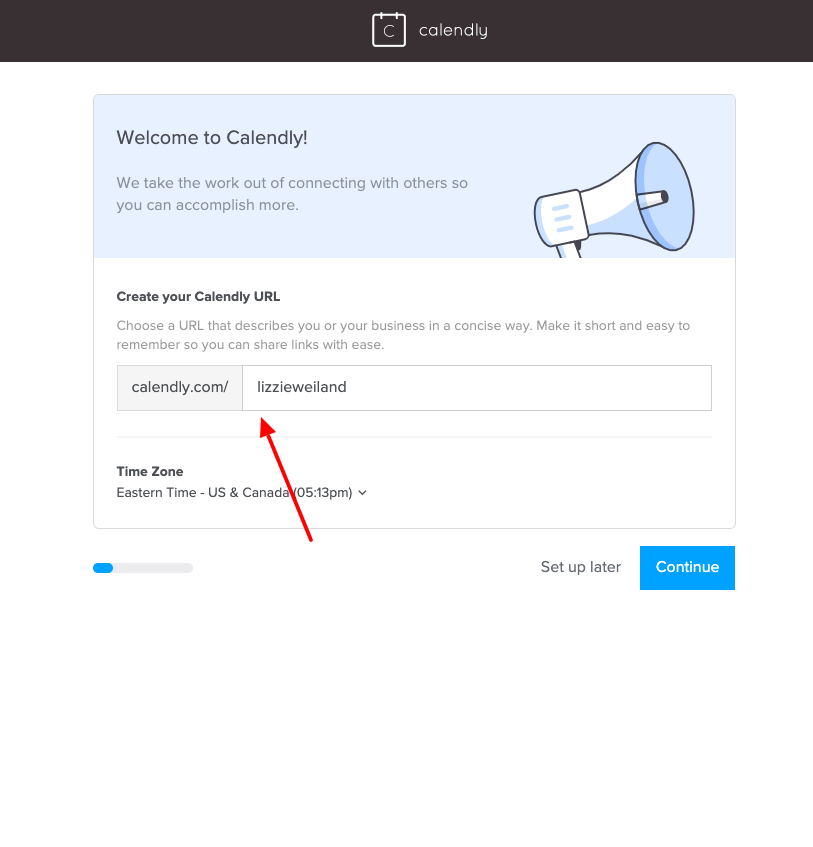
7. Create a URL for your link. We recommend customizing this for the person who is sending the follow-up emails. You can use your first name and last name or your organization name.
8. Connect your calendar based on your email provider.
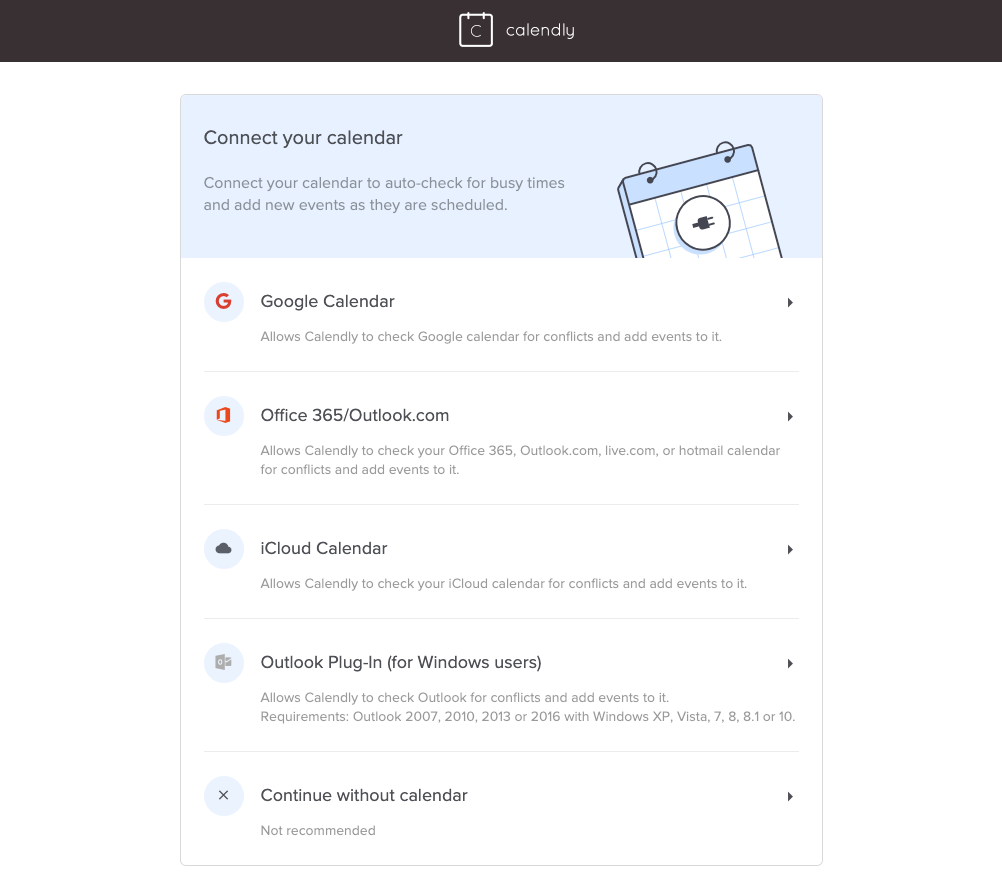
9. Once you select your calendar, you will be prompted to enter your password for the email account associated with your calendar. Make sure to give Calendly access to your calendar in order to move forward.
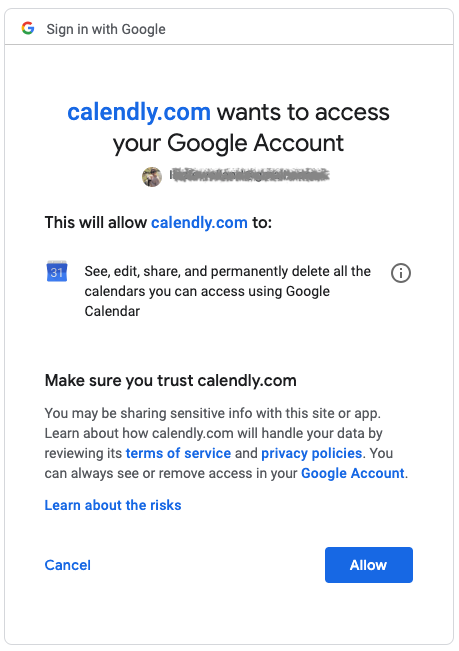
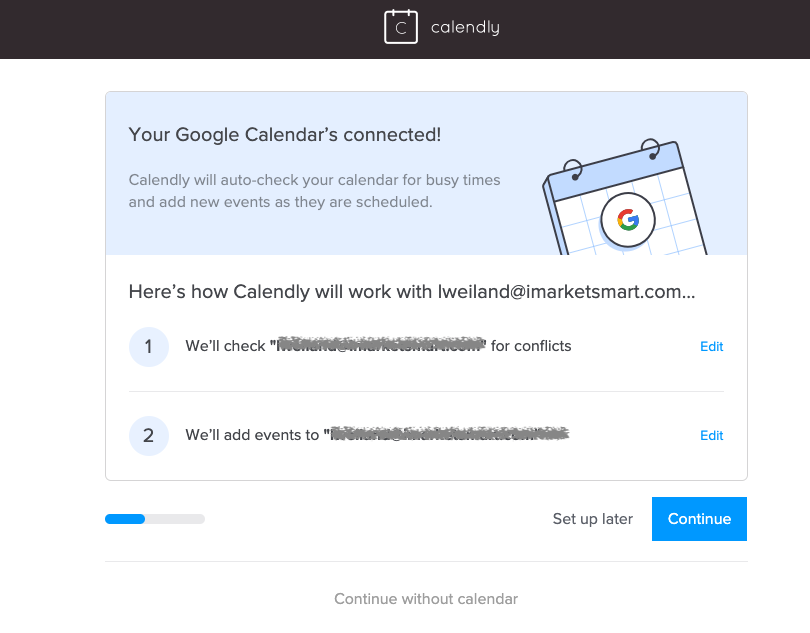
10. You will receive a confirmation once your calendar has been connected.
11. Customize your calendar availability. This can be changed at any time and varies across our clients depending on their office hours.
12. Finish setup! You will want to provide your Project Manager with the link to your calendar (see this video) so we can place it on your microsite, automated cultivation emails, and more.
We also recommend you add a link to the bottom of your email signature so that supporters can easily book meetings with you. Here’s the language most of our clients use: